Repoussé Tools for the “Pitch Method”
There is not very much in print regarding repoussé, especially in any great detail. That said, I am not going to produce a treatise, but rather show the more common tools of repoussé, and how some of them are used. I will also try to address some commonly asked questions.
This segment will deal with some of the tools used for the pitch method of repoussé, often referred to as “high relief chasing.”
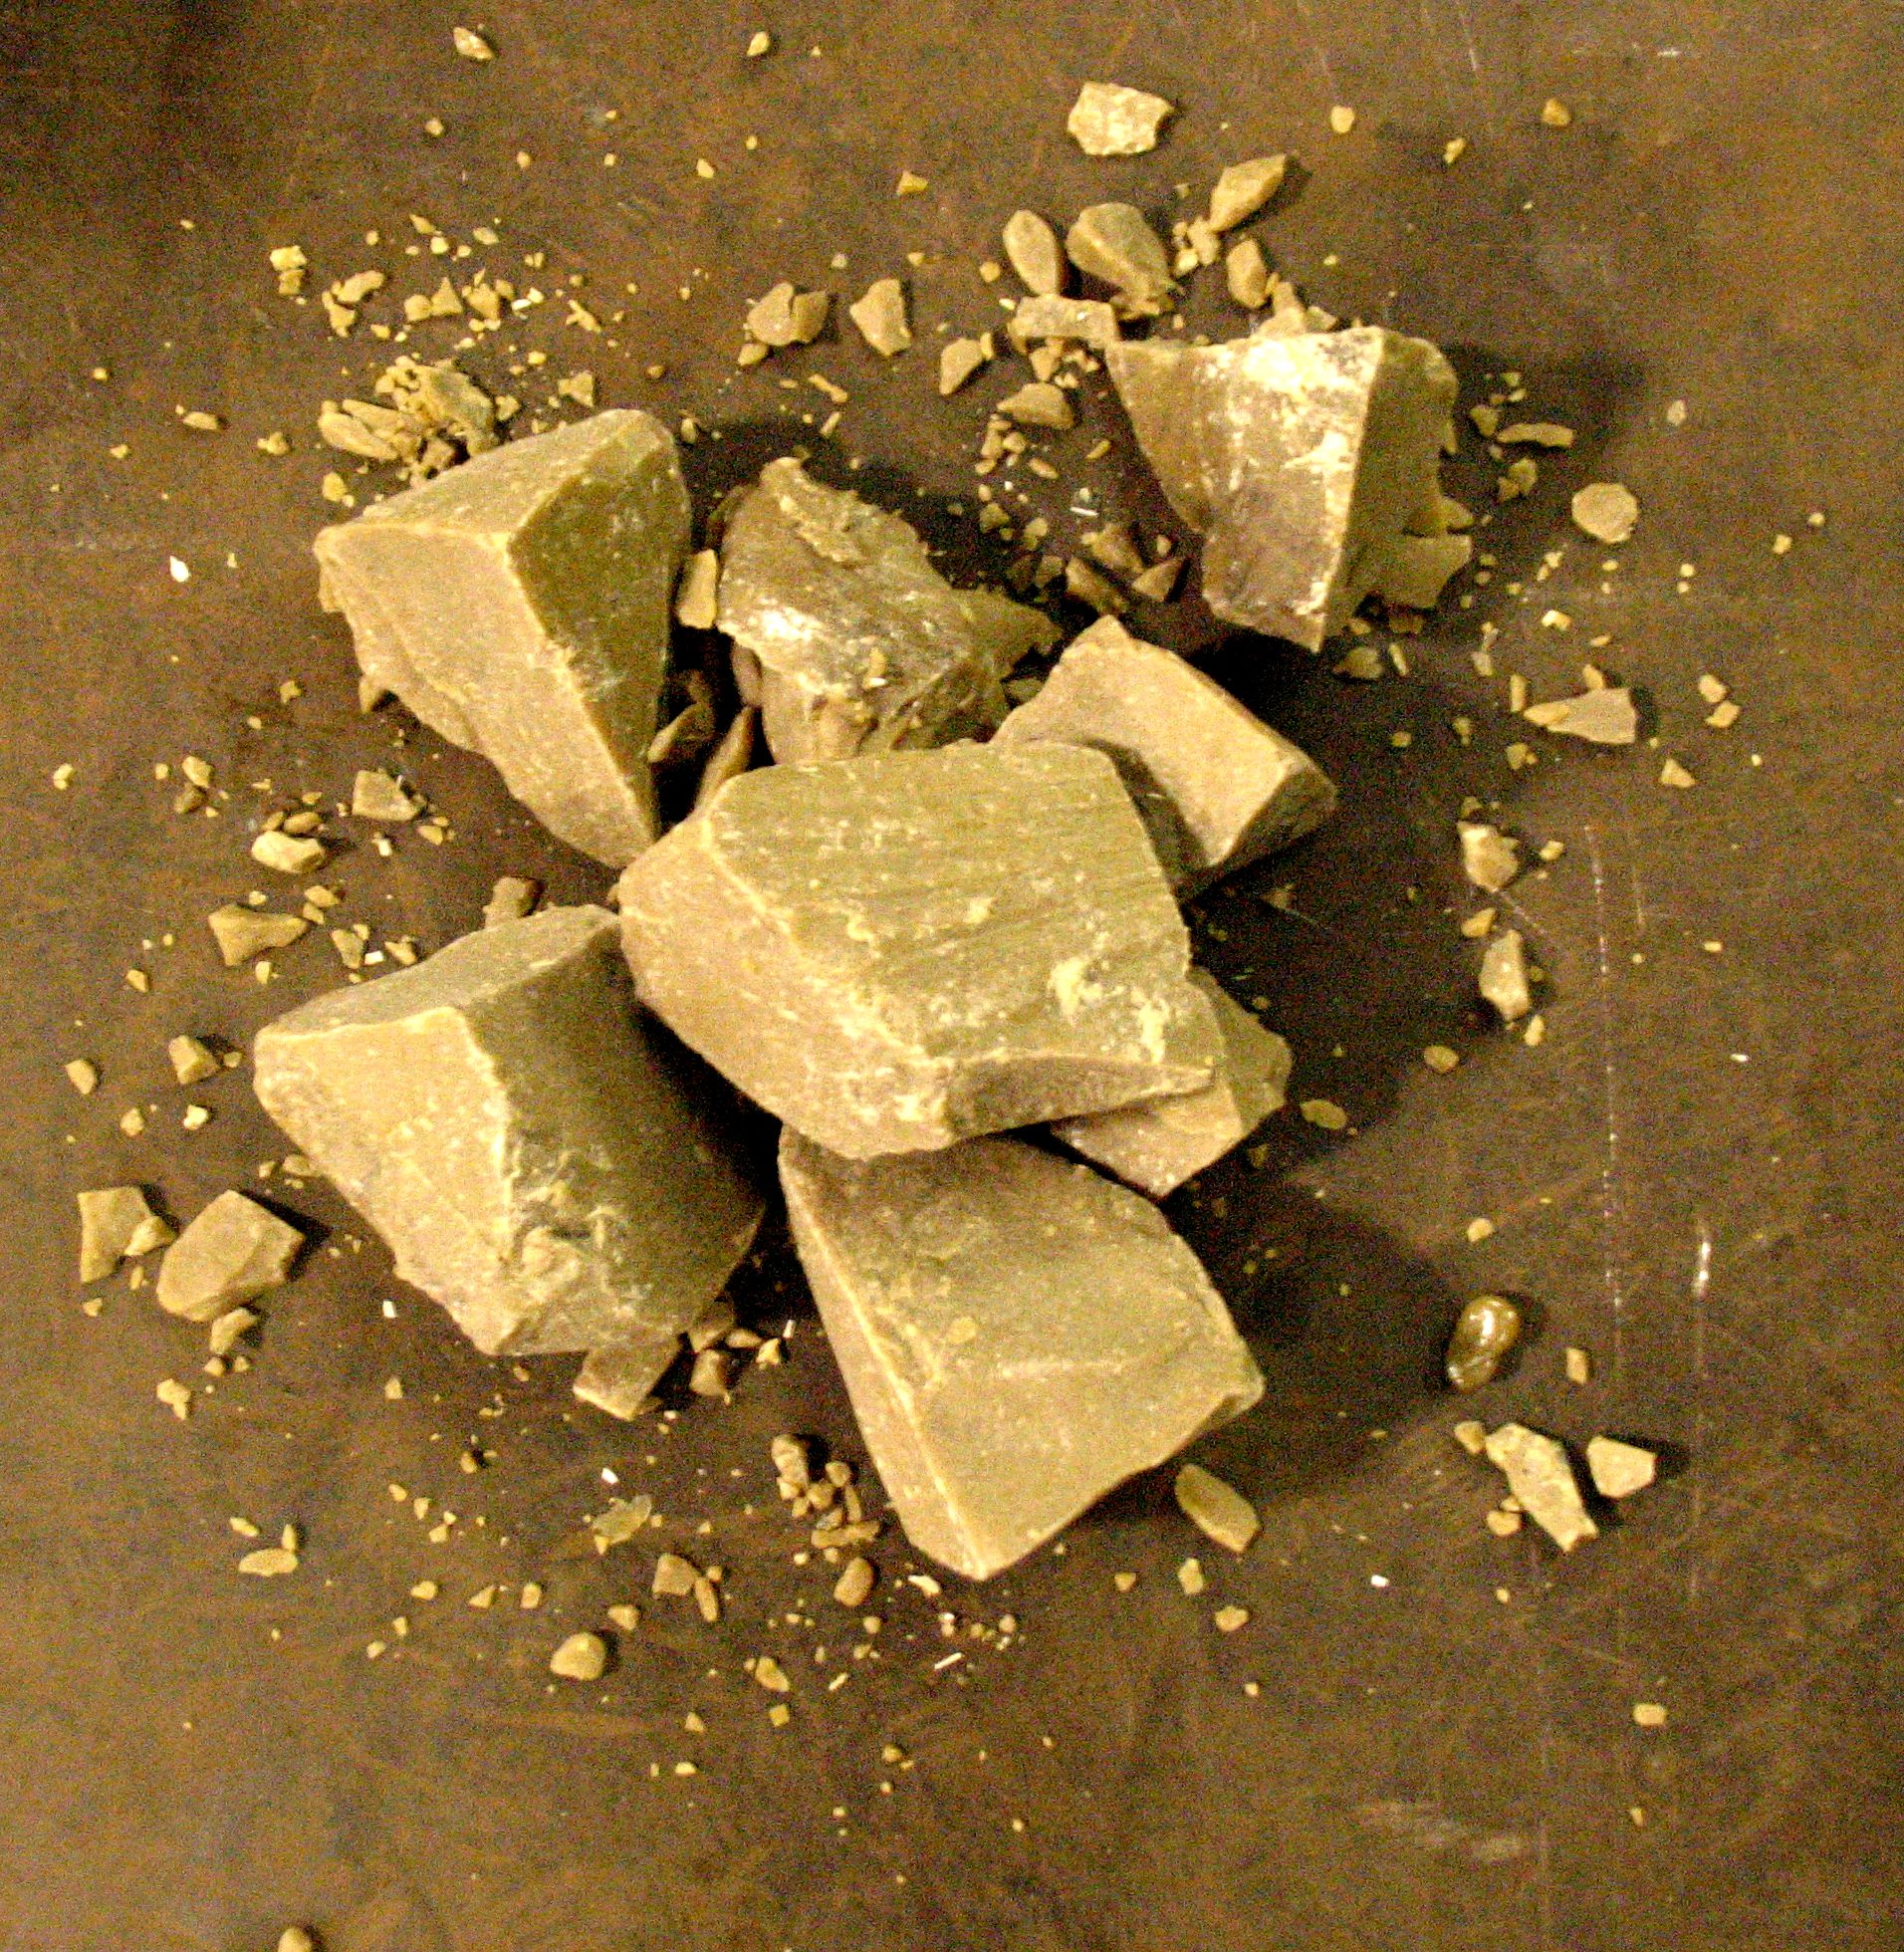
Below is an image showing how pitch appears direct from the manufacturer. It arrives in various sized chunks, and is like peanut brittle in its consistency.
If you were to hit it with a hammer, it would shatter into many pieces.
To use it, one needs to melt it onto a firm, solid substrate. I personally use a heavy steel plate, at least 3/8″ thick, with a bar mounted on the bottom that can be secured into a vise.
Other folks use a “pitch pot” , which looks like half of a hollowed out bowling ball, which is then placed in another concave surface (a wood stump would suffice) so the pot can be rotated, yet still have a firm base.
I choose to use the steel plate, as I can walk around the vise as I work.
Note: I have tried a heavy wood board as a substrate, but have found that it is too flexible, and thus, the pitch-bed dislodges from the wood, and then it has to be reset.
Below is an image showing a heat gun that I use to melt the pitch onto the steel substrate.
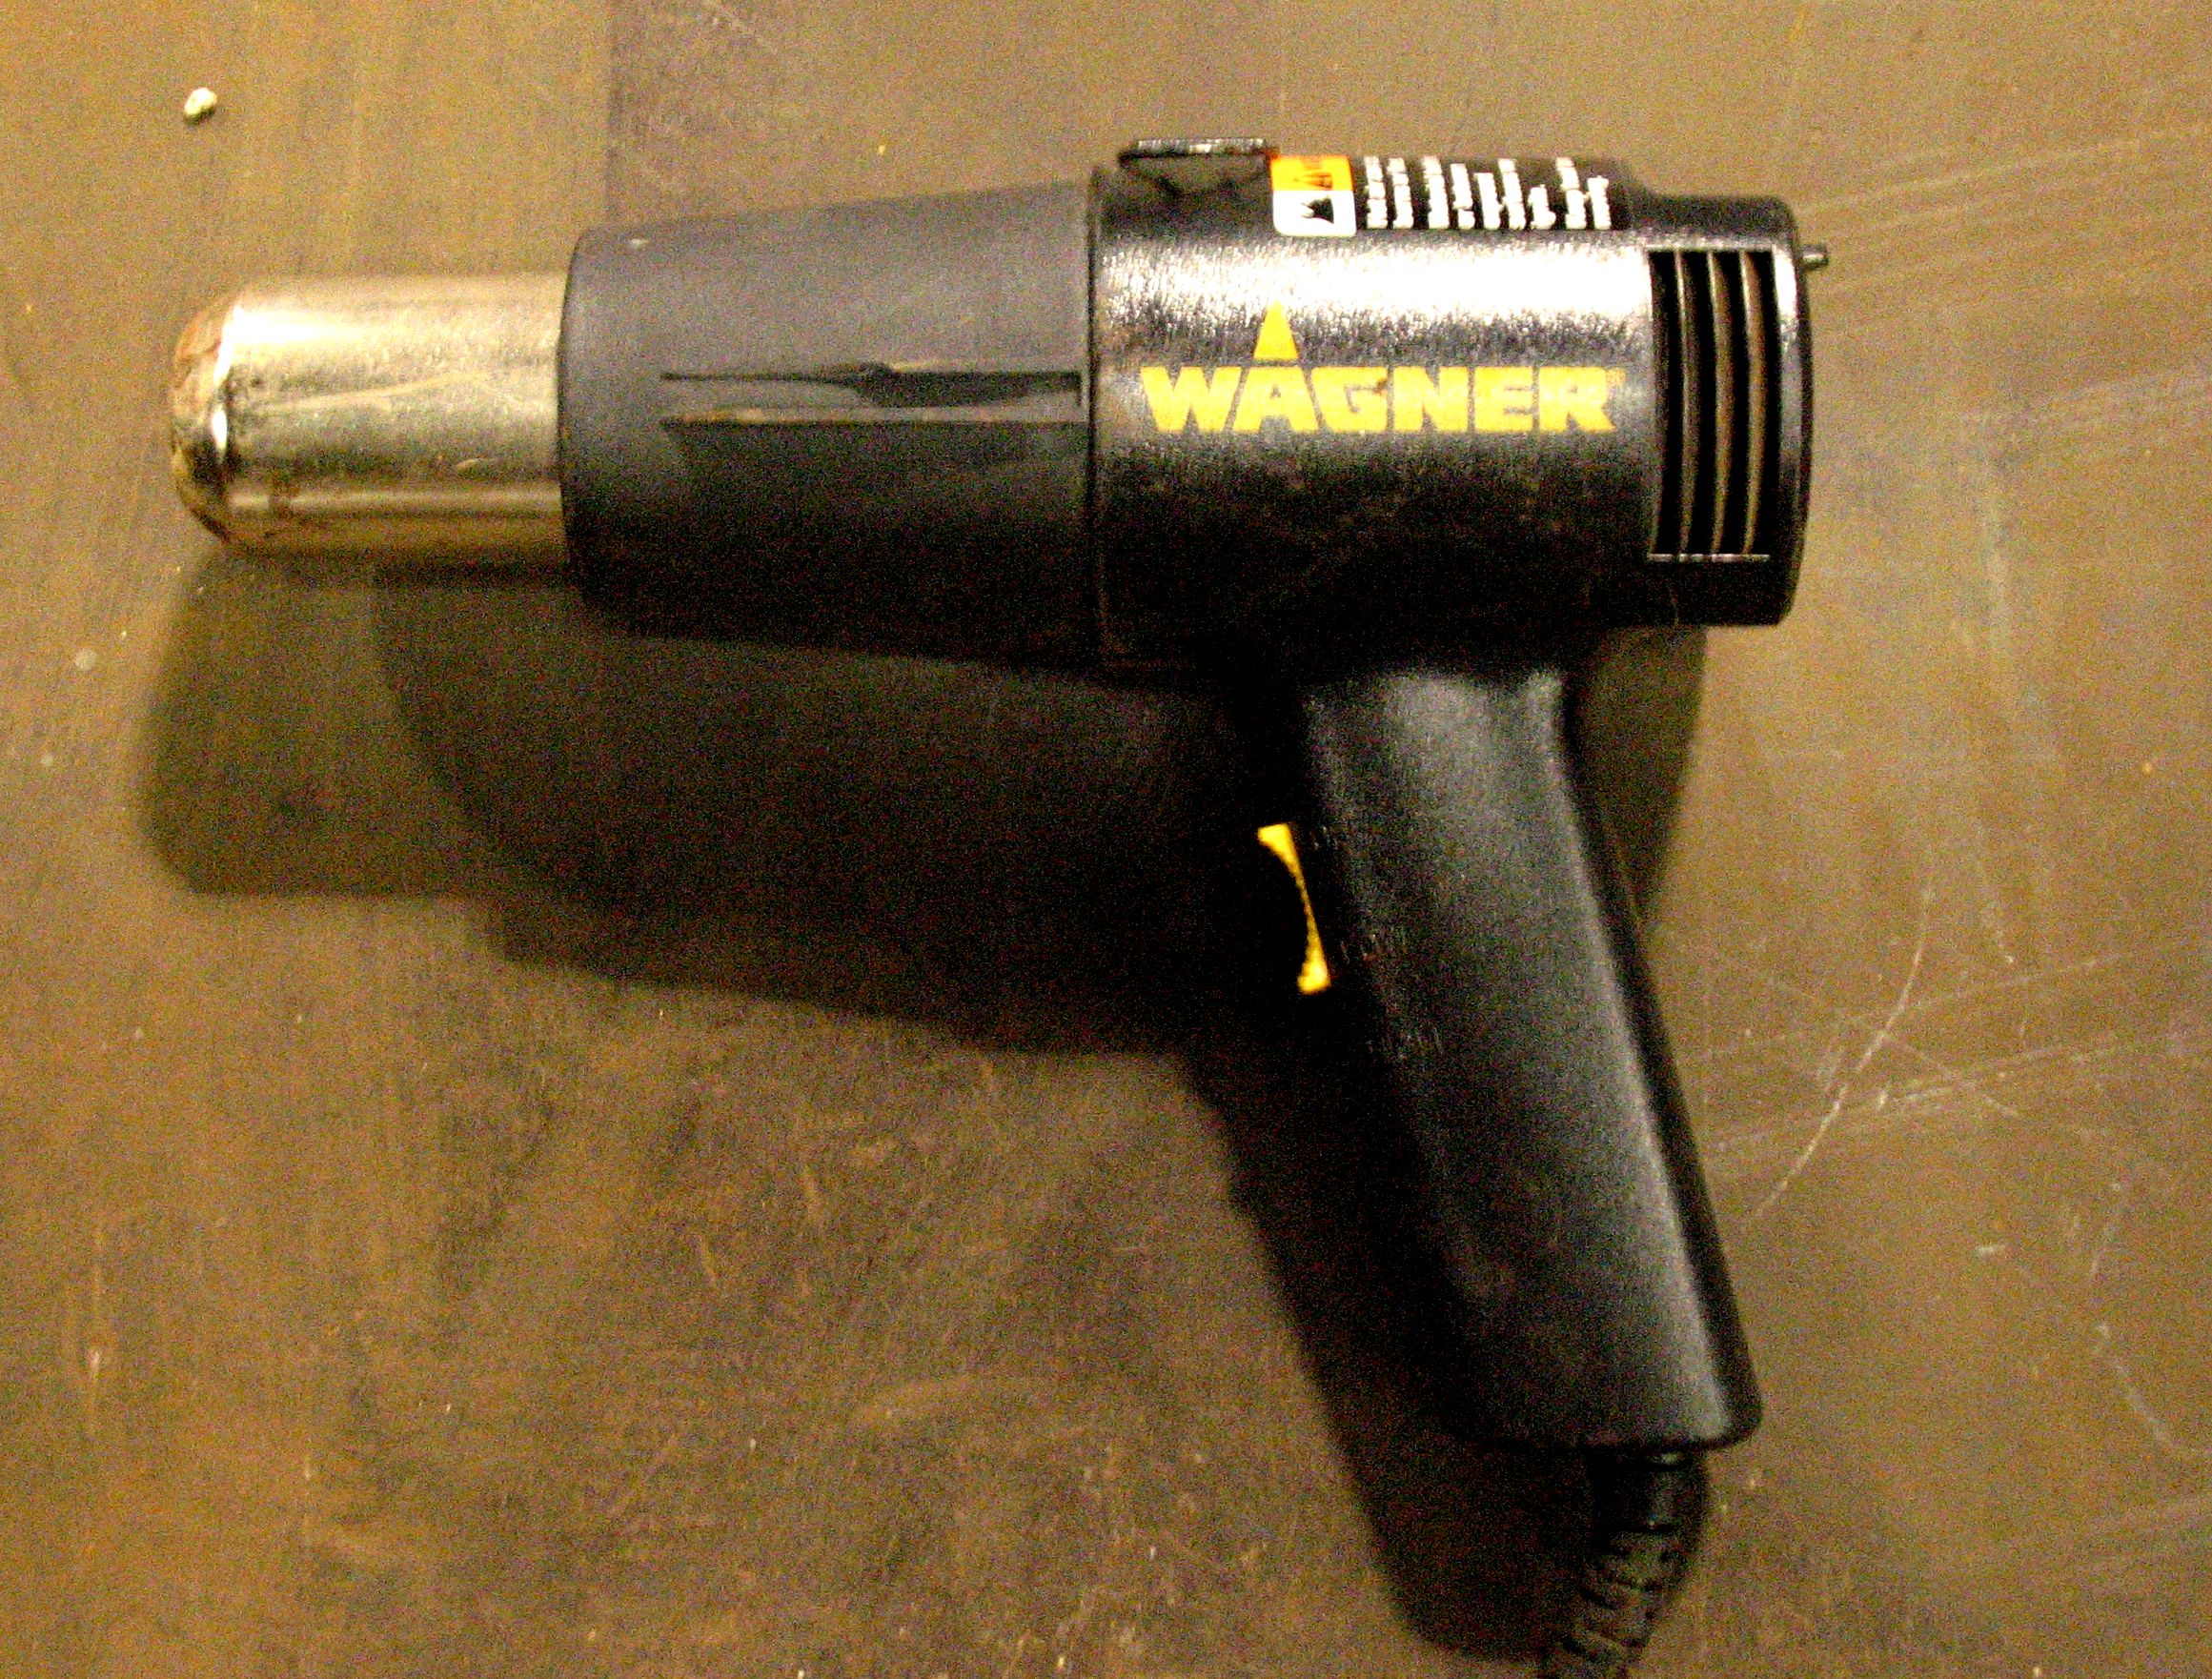
I use the same gun for removing the workpiece from the pitch. The type of gun is a simple tool for paint removal. I believe I paid about $35.00 for it, and it works fine.
When melting the pitch, be careful not to get it too hot, as it will lose its properties if overheated repeatedly. If it begins to bubble, back off on the heat for a while, then continue. I use a piece of steel with a chisel-like edge on the end to spread and shape the pitch-bed.
When initially making the pitch-bed, you should block up the sides of the bed with bars of iron. Otherwise, the pitch will seek its own level, and all you will have is a big blob of pitch with no depth to it.
Below is an image of a pitch-bed for concave work.

The form of the last piece I worked on, “Jacob Marley” is still visable.

The next image shows the pitch-bed used for the convex work.
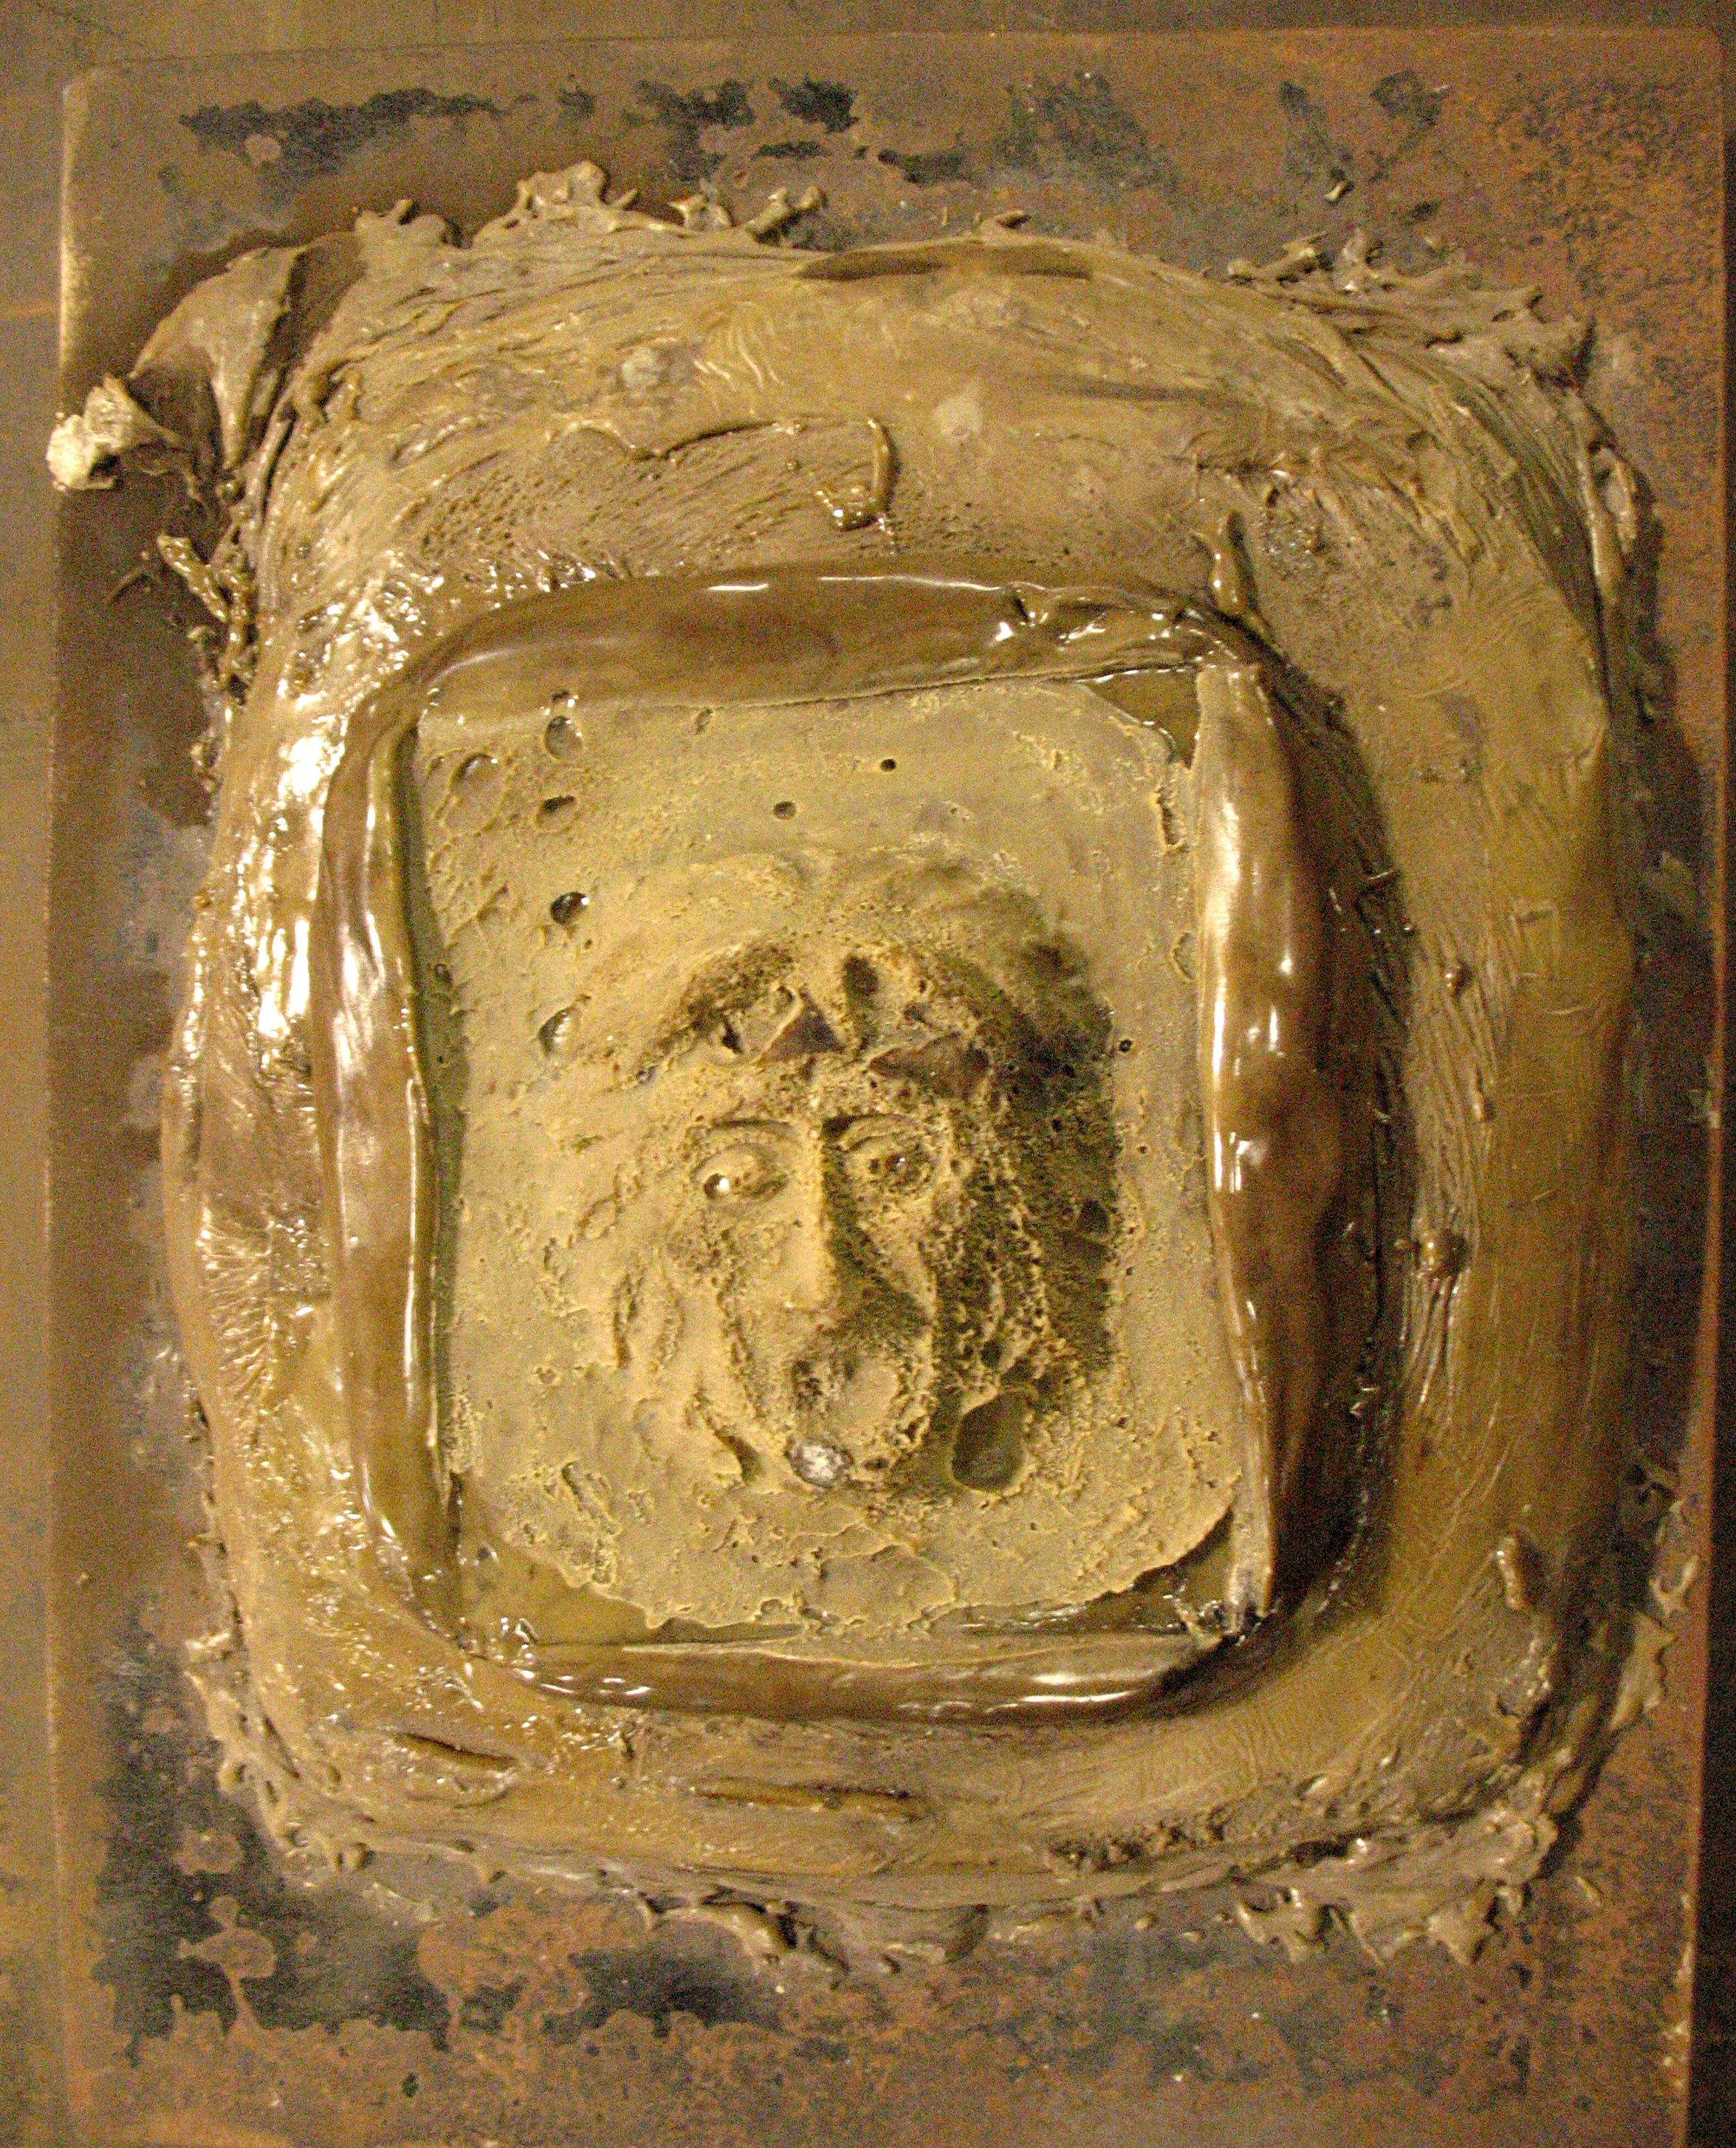
Again you can plainly see the ghost of Jacob Marley in the pitch (sorry.)
To lift the workpiece off the pitch, simply heat the area on and around the workpiece, and when the pitch begins to soften, use a pliers to gently lift the workpiece off the pitch. Try not to get the pitch too hot, as the hotter it is, the more pitch will cling to the workpiece. Pitch is messy at best to remove. Some of it may be removed from the workpiece by wiping with a rag while still hot. The residue can be removed with mineral spirits.
The purpose of pitch is to back up the metal, bolstering it firmly while being worked with the punches. When working, the pitch should be warmer than room temperature, but still very stiff. It should not be stone cold, as it is then too brittle, and will crack. Try for the happy medium, which may mean occasional warming with the heat gun, and then a brief wait to cool it down some. If too hot, moist towels may be applied to enhance cooling.
If making a bust such as Jacob Marley, initially sink the metal workpiece in a wood dish, like the one seen below. Use a dome faced hammer to force the material down into the dish.

I choose to use a laminated block, so the wood will be less inclined to crack. The dish is 3″ in diameter, 1 1/2″ deep, and the edges have been rounded. I leave the middle boards a little long, so I can fasten the block into a vise.
When sinking the metal into the dish, concentrate your blows around the perimeter, as you do not want to stretch the center too much, as this is where the proudest features will be located. In the case of a bust, the nose in particular really stretches the material to its extreme, so be careful not to break through by carefully monitoring the workpiece with a calipers.
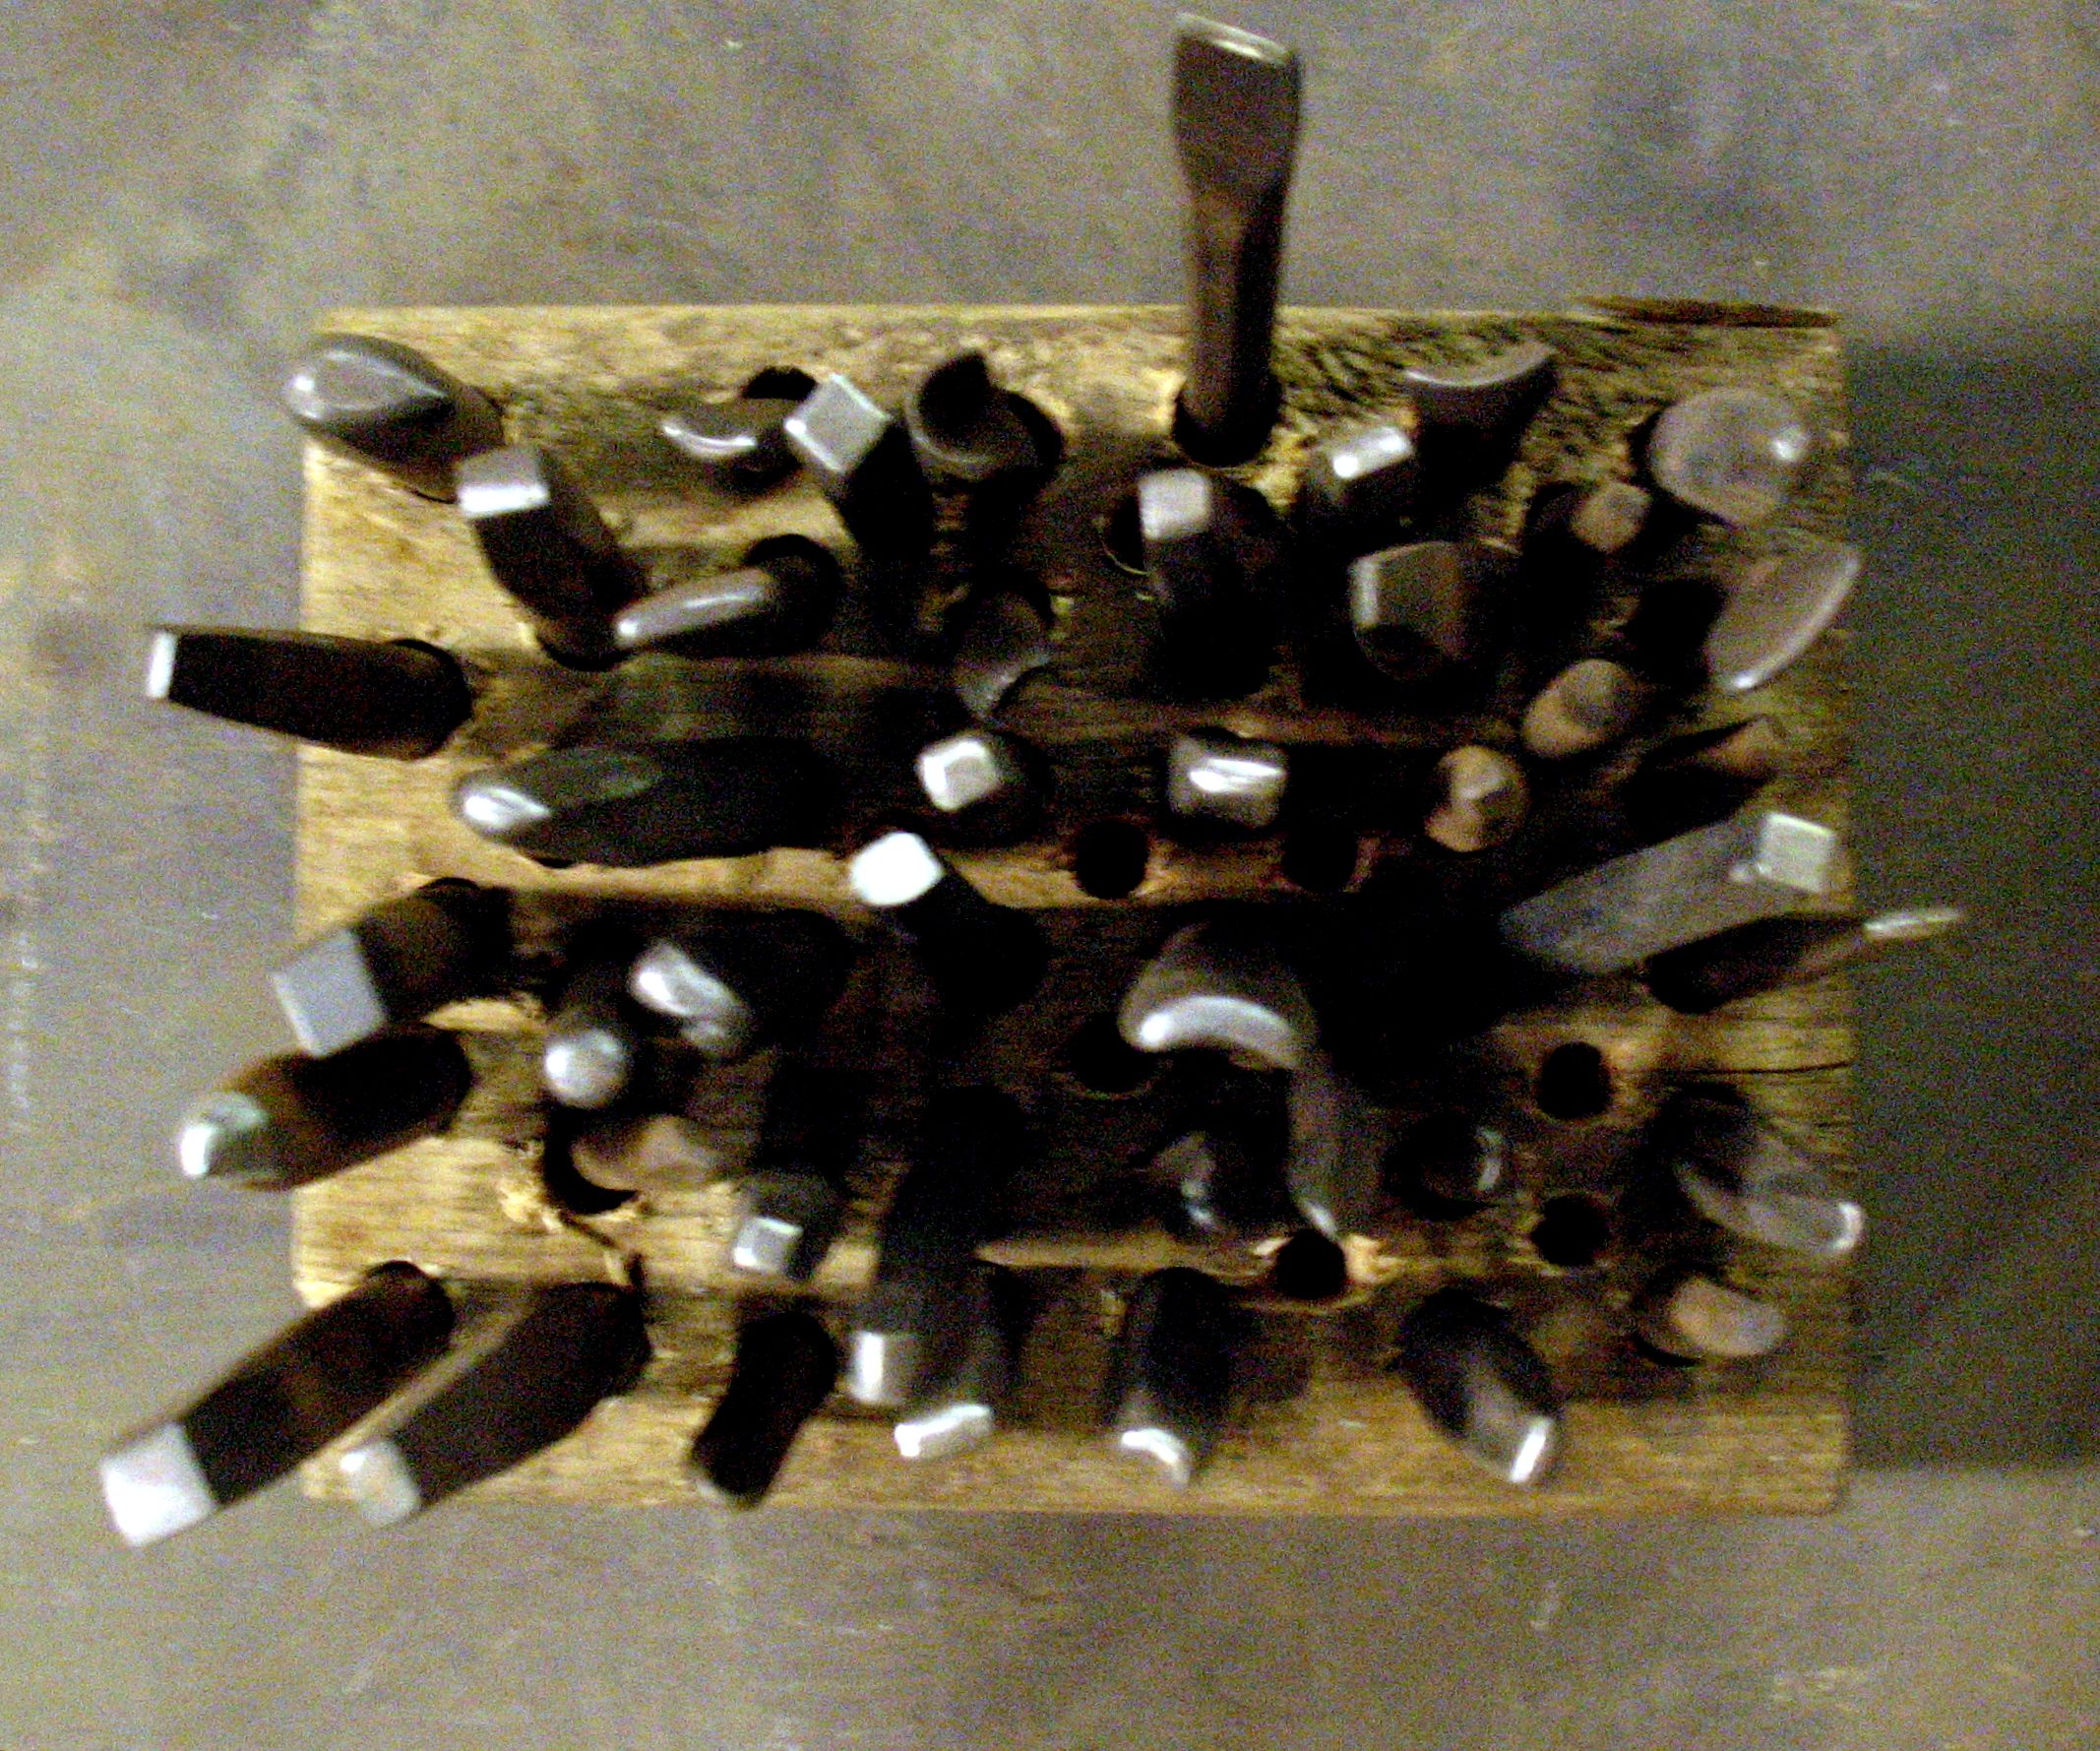
Below we see the many small punches for doing the detail work.
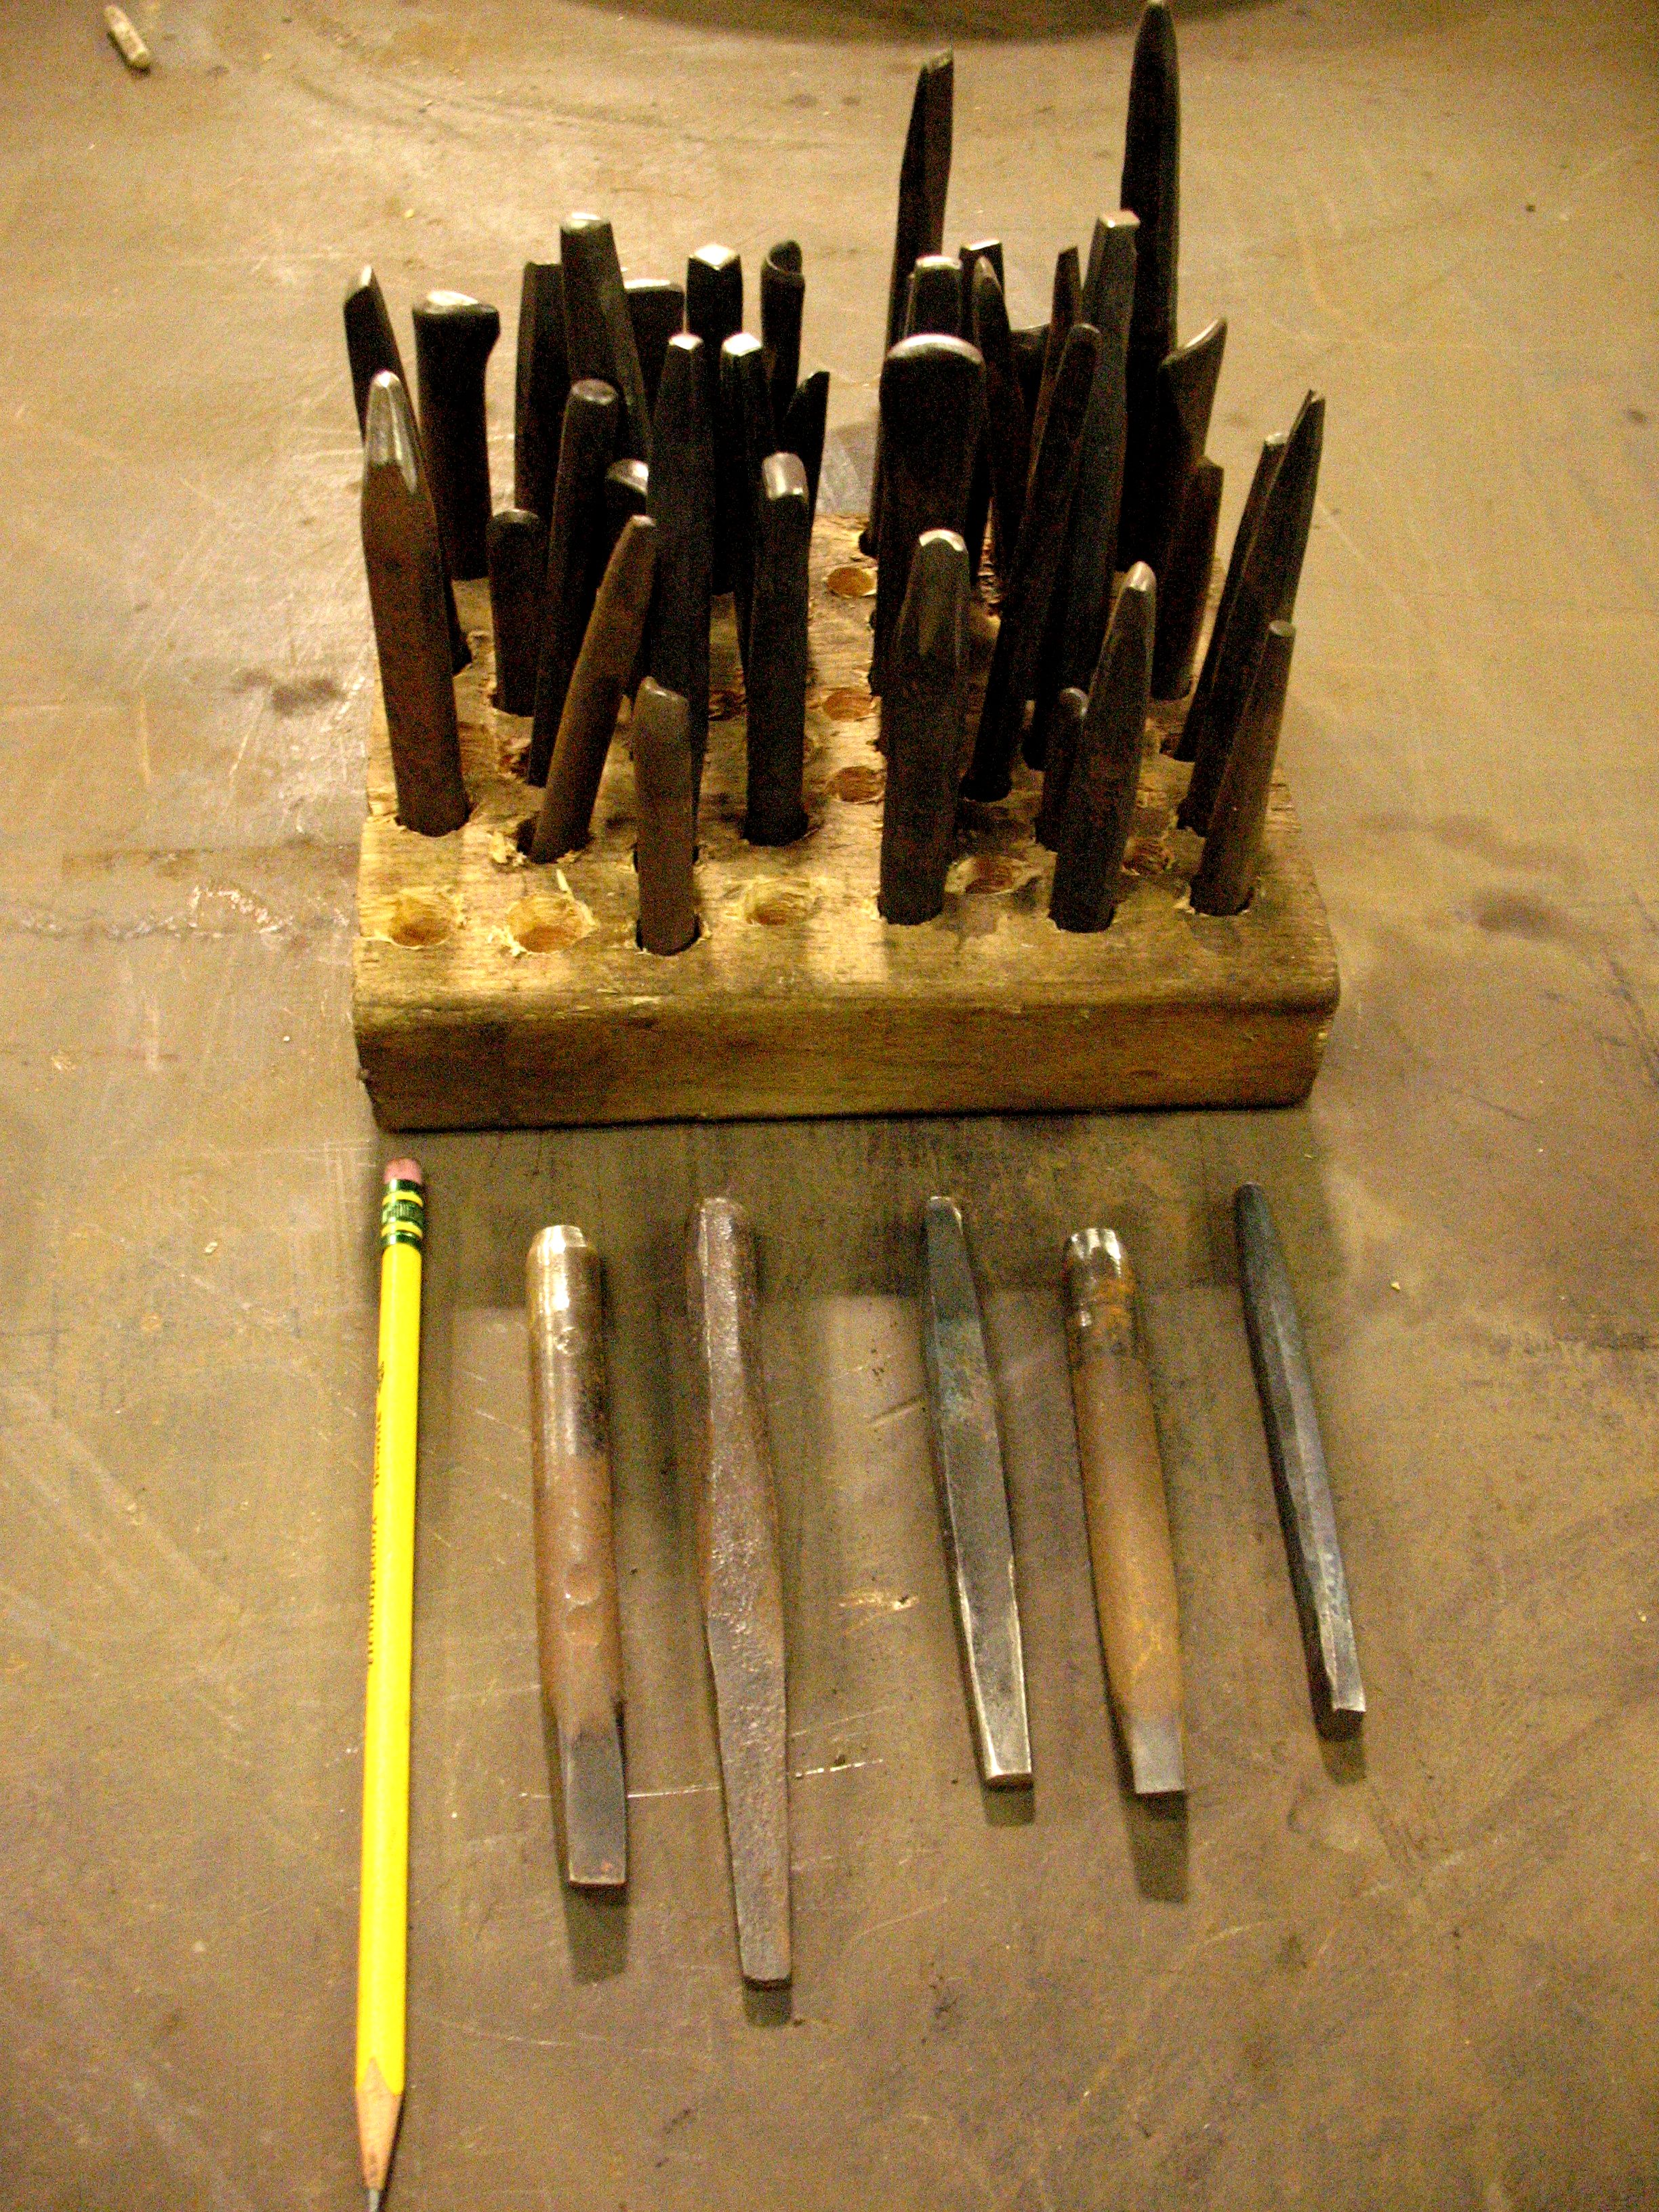
These punches are made of high carbon steel. When making them, simply make yourself a bunch of punch blanks of various sizes, so when you need a specific shape, all you need to do is refine the end to the desired shape by filing or grinding, then harden and temper the tip.
Below is a bird’s eye view of the various tip shapes.
Mind you, there can be a multitude of punches, but don’t let that fact overwhelm you. Make them as you need them, and eventually you will have quite the fine set.
In another post, I will discuss and show the tools for hammer and stake raising, otherwise known as “French Repoussé”.
…….Dan Nauman
“The beautiful thing about learning is nobody can take it away from you.”…..B.B. King
9 comments to “Repoussé Tools for the “Pitch Method””
Rob - March 26, 2010
Where do you get your blank steel, and do you like 01 or W1 better? I have also been looking at some of the Japanese punches and they seem to be made with a much steeper taper on either end. They seem more fitted for very fine detail work. Also, do you need to back fill pieces that are fairly deep or do you find that the heating of the raised pitch is enough to let it get into the recesses?
bighornforge - March 29, 2010
Regarding punch blanks: I make my own punch blanks out of whatever high carbon steel is available. These tools are so tiny that they are quick and dirty to make. I do not concern myself with “what tool steels (high carbon steels) are best”, as they are used on primarily lower impact situations, and toiling over the ideal carbon steel is moot (to me). If the tool fails, which rarely occurs, I simply make a new one in short order.
I always anneal, harden and temper the tool blanks. If I do not know what steel I am working with, I use motor oil as a quench first, and if that does not work, then I quench in water.
Just an FYI…..I have a background in metals, as I was a Quality Control manager in a machine shop many years ago. I dealt with microstructure, identifying the various “ites” (martinsite, ferrite, cementite, etc.) Metalurgy is extremely complicated, and as far as I am concerned, most blacksmiths need only understand a few basic principles to make most tools. Searching for the ultimate high carbon steel is not necessary, and likely beyond the understanding for most, and likely, it doesn’t exist. If there were an ideal, or universal high carbon steel, there wouldn’t be so many options. My mentor Francis Whitaker gave me some sound advice, that I fimly believe:
“If you are concerned about finding the “best” high carbon steel, pick one, and only one, learn its properties, and then get on with the business of forging. Otherwise, you may just be wasting your time.”
Unless you are making tools for a living, or producing knife blades, etc., I would heed Francis advice.
Regarding your second question: I always backfill the workpiece, as well as pre-heat the pitch-bed, to insure every nook and cranny is filled with pitch, insuring that all voids are filled, and that the workpiece adheres strongly to the pitch-bed.
Hope this helps.
……Dan Nauman
Rob - March 29, 2010
My question on the steel was more along the lines of if you found the water or oil quench type steel seemed to hold up or work better. I have heard that water quench can distort more than oil. But other than that I haven’t heard much more. I just want to get a bunch of blanks so that I don’t have to worry about which is which and can treat them pretty uniformly.
You do bring up an question, (I do jewelry and haven’t worked with ferrous metals much) how do you tell if quench worked? Coloration or maybe a scratch test of some kind?
bighornforge - March 30, 2010
In 31 years, I have not noticed, nor have I heard of any longevity differences between oil and water quenching high carbon steels. Not to say there are none, but none that have made an impression on blacksmiths that I know.
Availability of either seems to be the driving force as to who uses what.
How do you know the quench worked or failed? Apply a file to the surface that was quenched. If it bites into the material with ease, likely the quench failed.
Here are a few tips if you do not know what you have in your hands (i.e. water or oil quenching steel.):
First, do a spark test on a grinding wheel. Take a known mild steel bar, and the bar in question, and lightly touch the grinding wheel. Notice the sparks. The mild steel will throw a dull but long shower of sparks, which have a few bursts at the end of the stream.
Typically, the more common high carbon steels will throw a shorter but brighter shower of sparks, with many bursts at the end of the stream.
If you haven’t a clue as to whether the bar is oil or water quenching, always try oil first, as it is a milder quench than water. Plus, oil quenching steel that is quenched in water can produce hairline cracks, and fractures.
If it happens that the oil did not harden the steel, no damage is done, as then I simply re-harden and temper in water.
I must qualify and say that there are other high carbon steels that will not react as mentioned above. S-1 for example, does not throw a shower of sparks, rather it throws a few dull, red and boring sparks when touched to a grinding wheel. (Not necessarily an indicator in itself that it is S-1) Plus, S-1 is quenched in a salt brine, with just enough salt in the water to float a potato. I have used it on occasion with success, and other smiths do not temper S-1 after hardening. I have found it to be very hard, but can be too brittle for small, thin tools.
Caution!!!
If you have an unknown bar which is hexagonal, or octagonal, and has the ends mushroomed from use, take a cut with a saw before you put it in the fire to see if it has a hollow core.
I say this as I know of two circumstances where heating hollow-core bars exploded when heated. In one case, the bar had been used to tamp dynamite into drilled holes, the bar filled with the explosive, the ends of the bar mushroomed over, sealing the ends….in essence creating a pipe bomb. The report I received indicated that when the man heated the bar to forge it, it blew up, permanently blinding him.
In the second case, the ends of the hollow-core bar also mushroomed over, but simply formed an air lock. However when heated, the air inside the bar expanded, and again there was an explosion, enough to blow a hole in the side of the bar, scattering the forge fire all over the shop.
Note to all folks: Always wear safety glasses when working!
Hope this helps,
….Dan Nauman
Javier - October 29, 2010
Hi,
Beautiful work! Let me ask you something, could you please tell me the name of the manufacturer of your pitch?
Thank you,
Javier
Earl Martin - November 8, 2010
Dan, it’s a pleasure to know you. God has gifted you an awesome way. The Marley is awesome. It’s cool to see how creativity can be brought to life in different ways. You have certainly discovered how to bring it to life via this forging method. Keep it up. I’m sure you will.
Bill Lieske - March 23, 2012
I used a parafin quench for random carbon steels. It just seems to work and you don’t have to mess with tempering to straw. Regular old supermarket canning parafin. Melt it in a can and quench in that… then go to work!
grimbold - December 11, 2013
Various replies to questions in this old blog, hope someone still reads it.
Oil vs Water- Those designations for steels are based on sample metal blocks minimum 1″ across, so don’t worry too much. Oil or lard or paraffin with a cover in case of fire, heat until steel goes non-magnetic, quench, clean steel, temper back to straw or bronze. Leave the back of the tool softer for strength by not quenching it. Substitute water if working inside or doing demos on the road, generally works fine either way.
Apply only the *tip* or corner of a file to check steel hardness, or toss the file when it’s instantly blunt.
Japanese tool search for “tamahagane repousse blank”, Allcraft in NYC usually has some, or order from Japan. Pre-tapered, softer steel marked with red tip, harder in blue (~ HSS)
http://www.youtube.com/watch?v=g8a3ghNDco0 is one artist doing Japanese style work, it’s really advanced.
Picture of some standard tool tip shapes. http://chestofbooks.com/home-improvement/woodworking/Handicraft-For-Boys/Tools-Needed-for-Repousse-Work.html#.UqirdFOE7Ic
ignore the finger position in hammer holding, just wrap around handle instead and avoid RSI.
If you want to learn Eastern European techniques, Valentine Yatkov in NYC does classes and sells tools.
If you learn from books, Chasing & Repoussé by Corwin is probably the best current one http://www.amazon.com/Chasing-Repouss%C3%A9-Nancy-Megan-Corwin/dp/1929565321 is a course in a single volume. An older classic http://www.amazon.com/Moving-Metal-The-Chasing-Repousse/dp/0970766491 is also good, but not as well laid out for learning.
Best American pitch so far is the medium from Northwest Pitchworks. German Red pitch (Peih or Allcraft) is also good. Avoid black asphalt-based pitches if you can, melting and working temps are dangerously high and it’s nasty to work with, they’re really good for .
Grimbold
Naveen - October 30, 2016
Very nice description iam from India and I do the same work